Connecting your MacBook to a projector can enhance your presentations, making it easier to share content with a larger audience. This guide will walk you through the essential steps needed to establish a successful connection, whether you’re using a wired or wireless method. With the right approach, you can seamlessly project your MacBook’s display, allowing for a more engaging experience. Below, we will explore the connection methods, the necessary cables or adapters, and troubleshooting tips to help ensure everything works smoothly.
Understanding the Connection Types
Before you proceed with connecting your MacBook to a projector, it’s essential to understand the available connection types. Depending on the model of your MacBook and the projector, you can choose among several options, including HDMI, VGA, and AirPlay for wireless connection. Each method has its advantages and potential drawbacks, which are important to consider before you start.
- HDMI: This is the most common and straightforward method, providing high-quality audio and video with a single cable. It’s compatible with most modern projectors.
- VGA: An older standard, VGA might be necessary for some older projectors. You’ll need an adapter if your MacBook does not have a VGA port.
- AirPlay: If your projector supports AirPlay, you can wirelessly mirror your MacBook’s display without any cables.
Gathering the Necessary Equipment

Before connecting to a projector, ensure you have all the required equipment on hand. Depending on the connection type you decide to use, you may need specific cables or adapters. Here’s a checklist to help you prepare for the connection process:
- Check the projector’s input ports to determine whether you need HDMI, VGA, or other cables.
- Acquire the necessary cables. For HDMI, just a simple HDMI cable will do. For VGA connections, you’ll also need an adapter if your MacBook lacks a VGA port.
- If using AirPlay, ensure both your MacBook and projector are connected to the same Wi-Fi network.
- Consider any additional audio connections if your projector does not project sound.
- Set up your projector in a location where it can directly receive input from your MacBook.
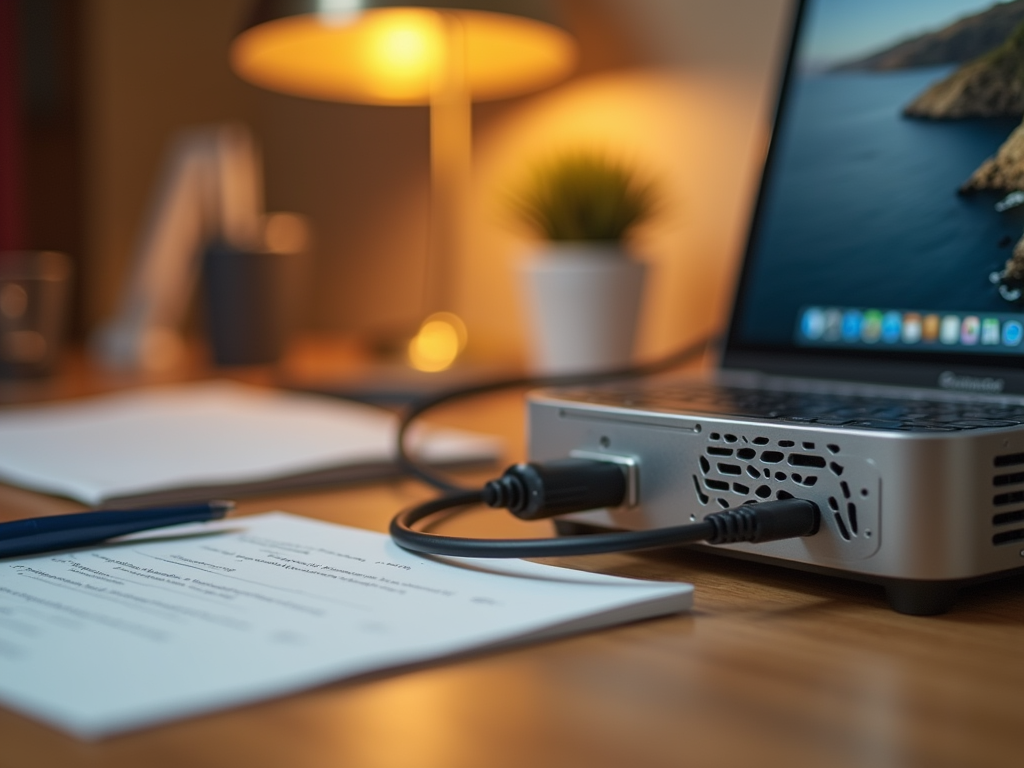
Connecting Your MacBook to the Projector via HDMI or VGA
The most popular methods for connecting your MacBook to a projector involve using HDMI or VGA cables. Here is a step-by-step guide for each connection type:
Using HDMI
If you’re using an HDMI cable:
- Plug one end of the HDMI cable into your MacBook.
- Connect the other end to the projector’s HDMI input.
- Turn on the projector and select the appropriate HDMI input channel using the projector’s remote control or built-in buttons.
- On your MacBook, go to the Apple menu, select “System Preferences,” and click “Displays.”
- Select the “Detect Displays” option if your MacBook doesn’t automatically recognize the projector.
Using VGA
If you’re connecting via VGA:
- Connect the adapter to your MacBook if it doesn’t have a VGA port.
- Plug one end of the VGA cable into the projector and the other into the adapter.
- Turn on the projector and choose the VGA input channel.
- Follow similar steps as with the HDMI connection to configure your display settings under “System Preferences.”
- Adjust resolution settings as needed for optimal display quality.
Connecting Wirelessly with AirPlay
To connect your MacBook to the projector using AirPlay, follow these steps for a seamless wireless experience. This method is particularly convenient as it eliminates the mess of cables:
- Ensure your projector supports AirPlay, then turn it on and connect it to the Wi-Fi.
- On your MacBook, click the AirPlay icon in the menu bar at the top of your screen.
- Select the projector from the list of available devices.
- If prompted, enter the AirPlay code displayed by the projector on your MacBook.
- Configure your display preferences to either mirror your display or use the projector as a separate screen.
Troubleshooting Common Connection Issues
If you experience problems while connecting your MacBook to a projector, you can use the following troubleshooting tips to resolve them quickly:
- No display: Ensure all cables are securely connected, and the correct input source is selected on the projector.
- Resolution issues: Adjust the display settings on your MacBook to match the projector’s native resolution.
- Audio problems: Check that audio is being routed through the projector if it supports sound.
- Compatibility checks: Ensure your MacBook and projector have compatible ports or proper adapters.
- Wi-Fi connection: If using AirPlay, both devices must be on the same Wi-Fi network.
Conclusion
Connecting your MacBook to a projector is a straightforward process that can significantly enhance your presentations and media sharing. By understanding the different connection types, gathering the necessary equipment, and following the correct setup steps, you can ensure a seamless experience. Troubleshooting common issues can further help mitigate any connection hiccups. With this knowledge, you can confidently project your content to a wider audience.
Frequently Asked Questions
1. Can I connect my MacBook to a projector using just a USB cable?
No, USB cables typically do not support video output. Use HDMI or VGA for video connections.
2. What models of MacBook require adapters to connect to VGA projectors?
Most modern MacBook models, like the MacBook Air and MacBook Pro, have USB-C ports and will require a USB-C to VGA adapter.
3. How do I change the display settings once connected to the projector?
Go to the Apple menu, select “System Preferences,” click “Displays,” and choose your preferred configuration.
4. Can I use multiple projectors with my MacBook at the same time?
Yes, you can connect multiple projectors by using the “Extend Display” option in the display settings.
5. What should I do if my projector is not recognized by my MacBook?
Check the connections, ensure the projector is powered on, and try resetting the MacBook’s NVRAM or SMC.